How to Add Padding to a Recliner (A Step-by-Step Guide)
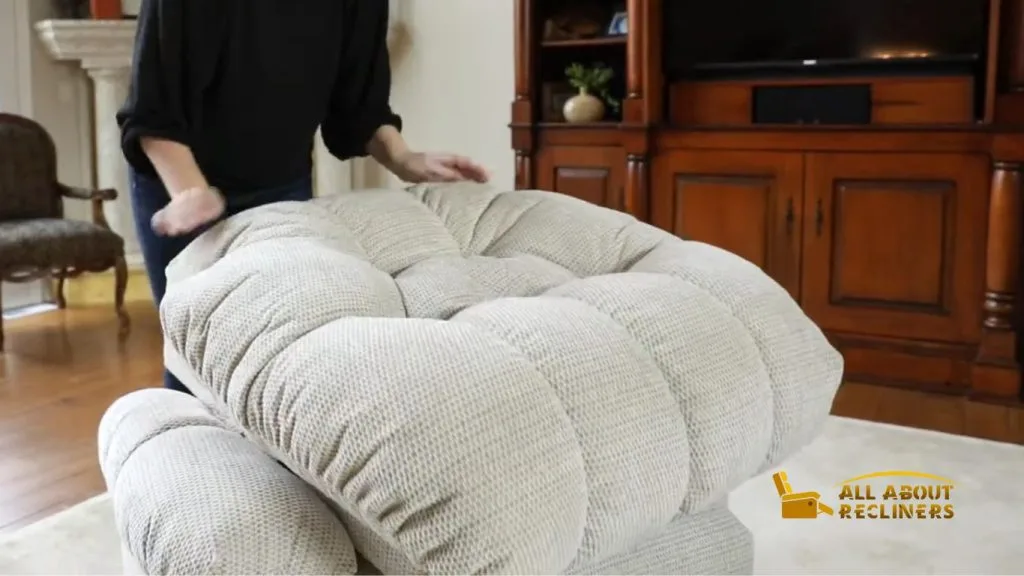
Your recliner is a great piece of furniture that you can relax on after a long day. The padding gives it extra comfort and makes it stand out from the standard armchair. But what if your recliner looks worn and you want to add padding to it?
That’s what we’re here to help with. This tutorial will walk you through the steps that you need to take to add padding to a recliner. We’ll discuss the materials, time, and difficulty level involved so that you know what to expect when tackling this project. After reading this tutorial, you’ll be ready to give your recliner the cushiony upgrade it deserves.
Benefits of Adding Padding to a Recliner
Before getting into the details of how to add padding, let’s take a look at some of the benefits:
Customize your recliner. When you upgrade your furniture with extra padding, it looks more stylish and inviting. This can be a great opportunity to give your home decor a refresh.
Better comfort: Adding padding to your recliner gives you an extra layer of cushioning that can make it much more comfortable to relax.
Increase the lifespan of the recliner: With extra padding, your recliner will be more protected from wear and tear. This can help it last you much longer.
Save money: Instead of buying a new piece of furniture, you can save money by giving your old one an upgrade.
Checkout: Best Recliners For Back Pain
How to Add Padding to a Recliner?
Now let’s get into how you can add padding to a recliner. Here’s what you need to do:
Materials needed to add padding to a recliner
To get started, you’ll need to gather the materials listed below.
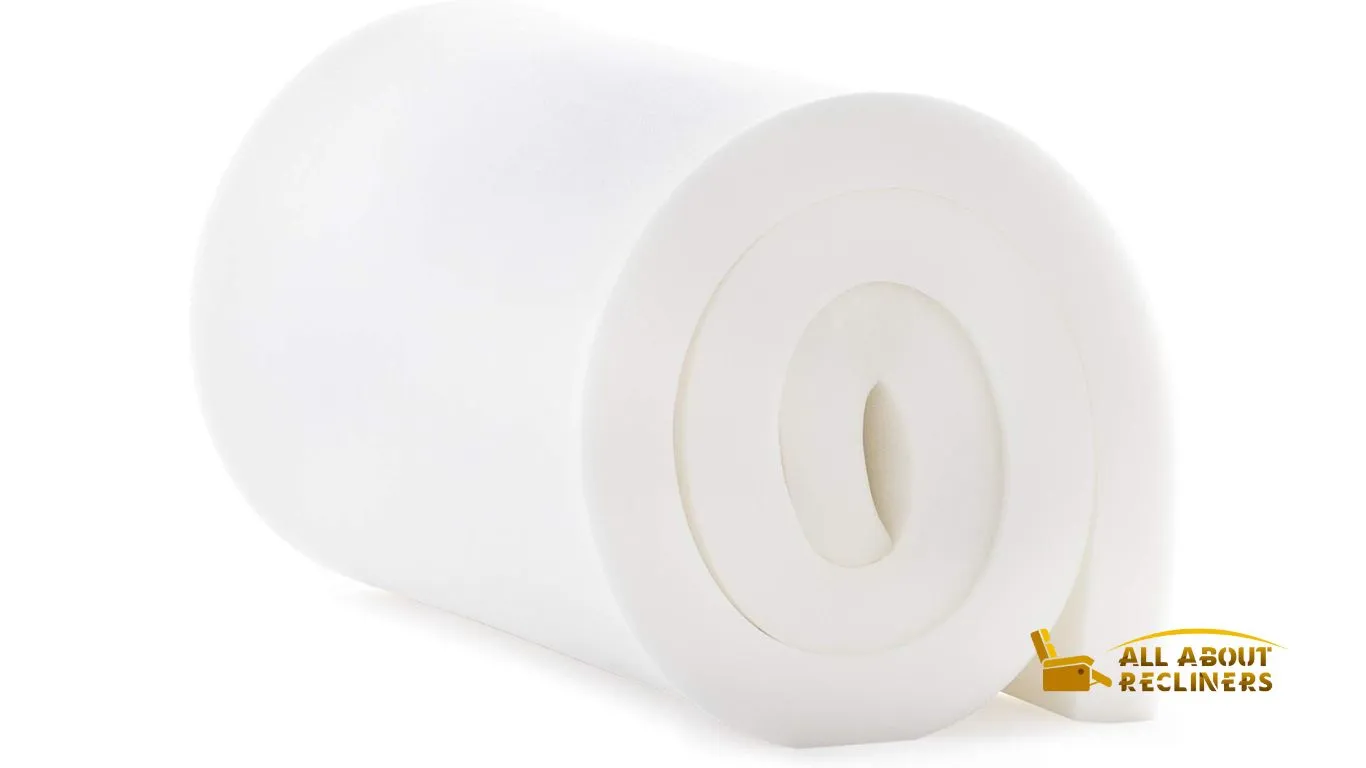
- Foam mattress padding
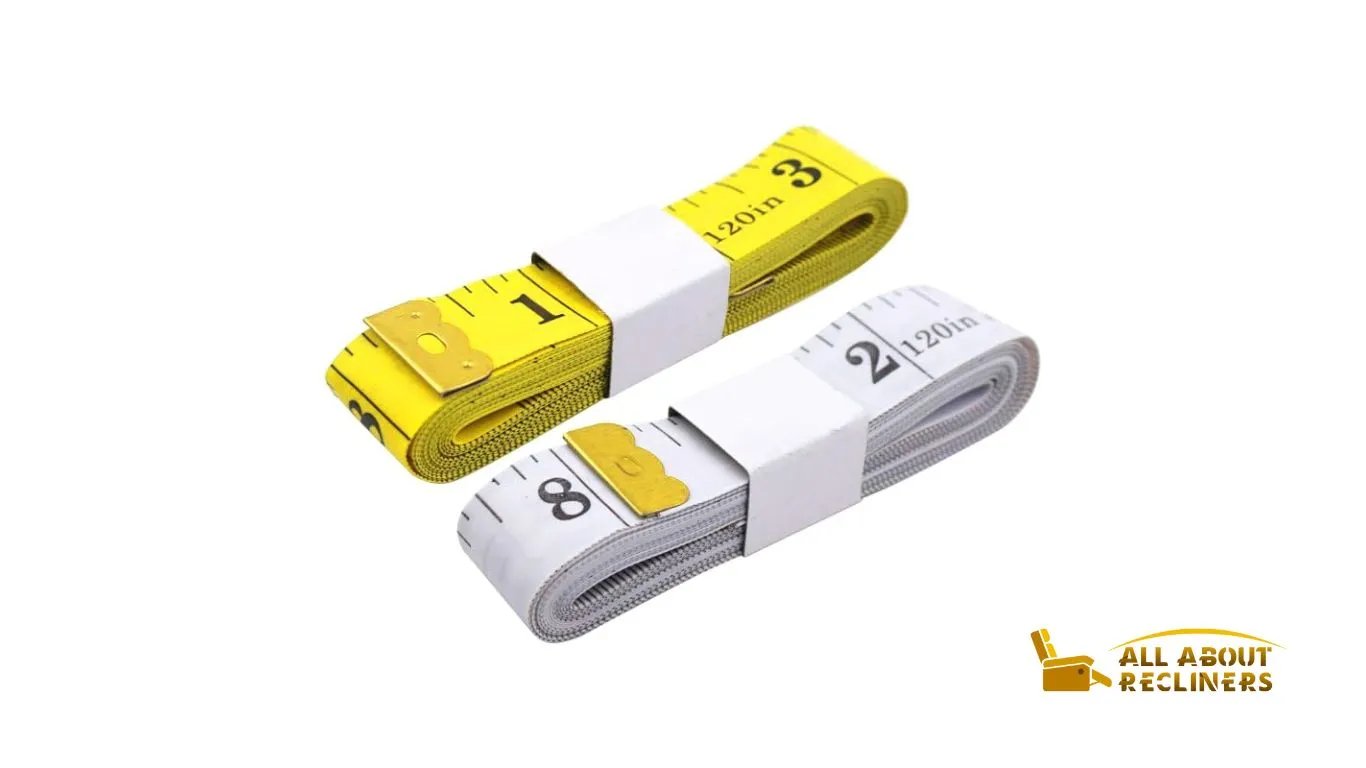
- Measuring tape
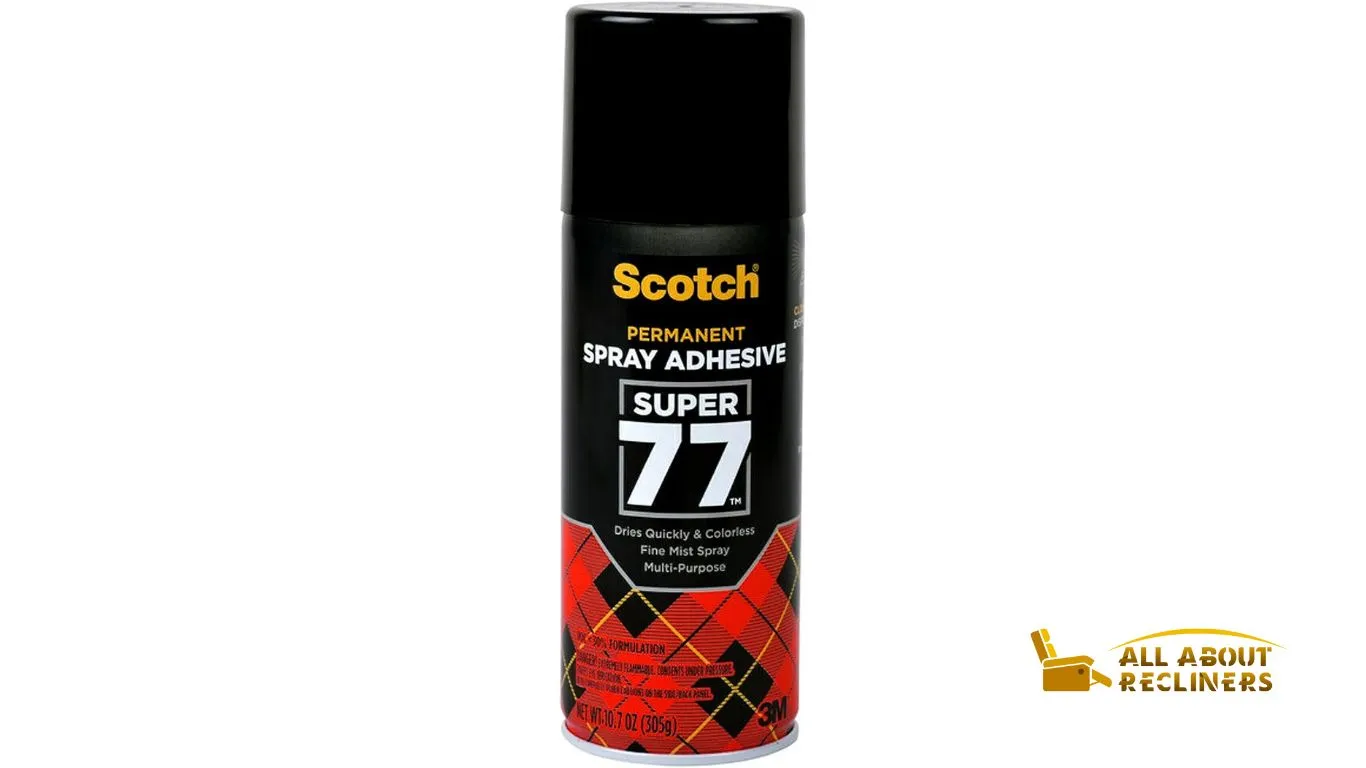
- Fabric glue or spray adhesive
- Scissors
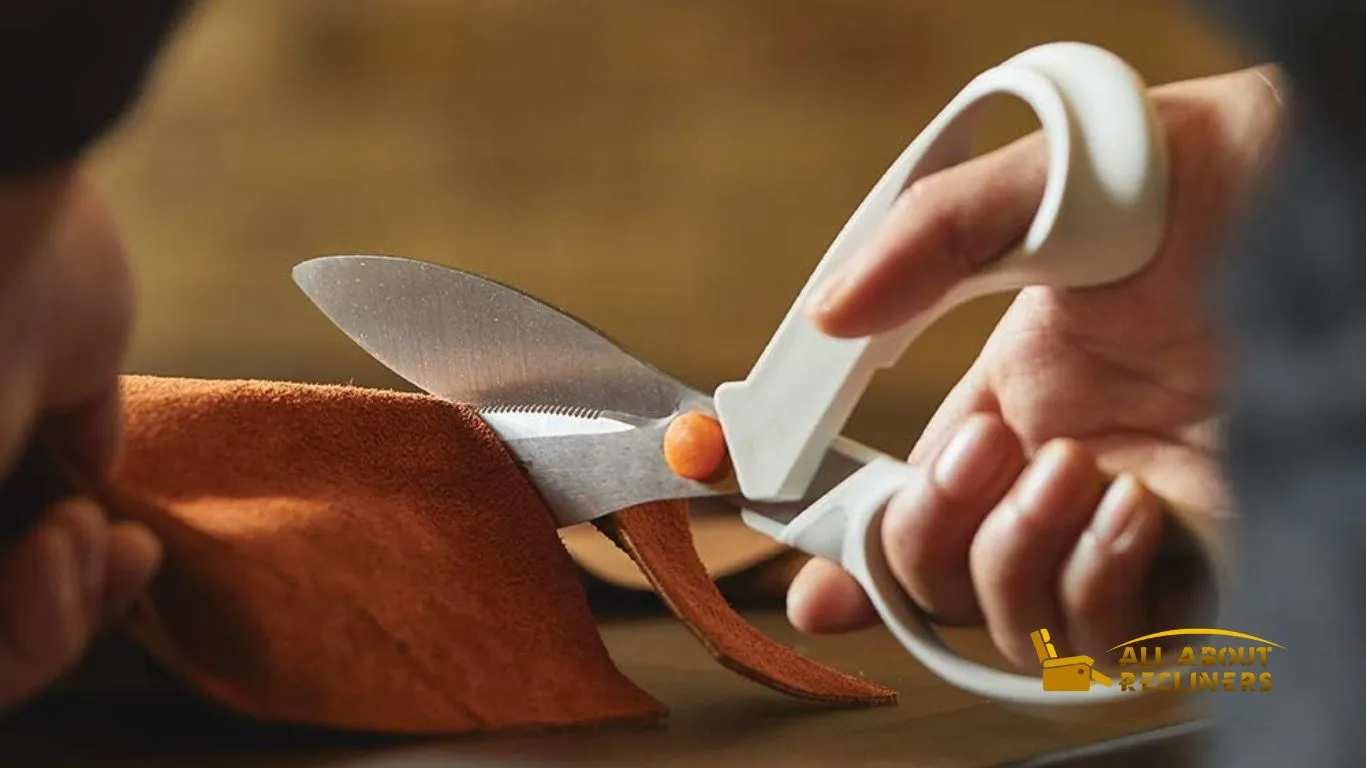
- Fabric for covering the foam padding
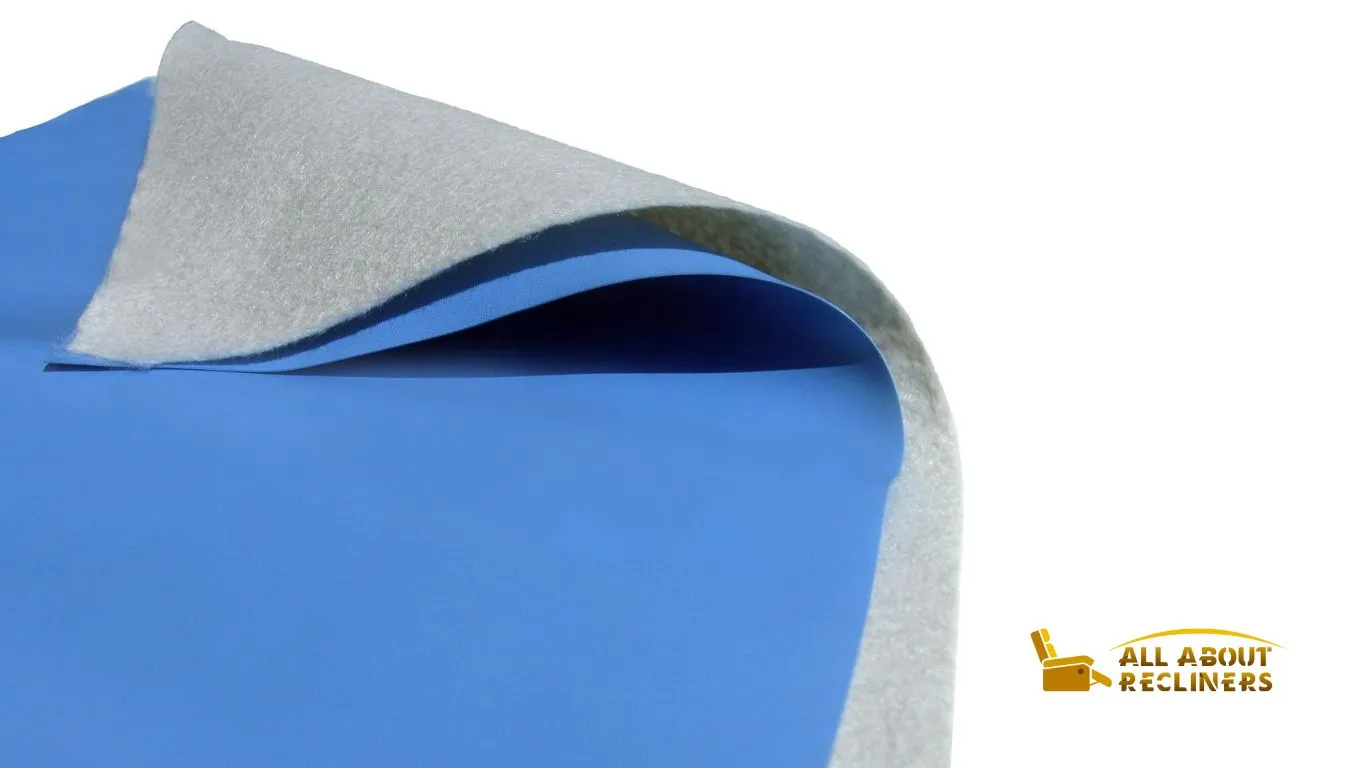
- Staple gun (optional)
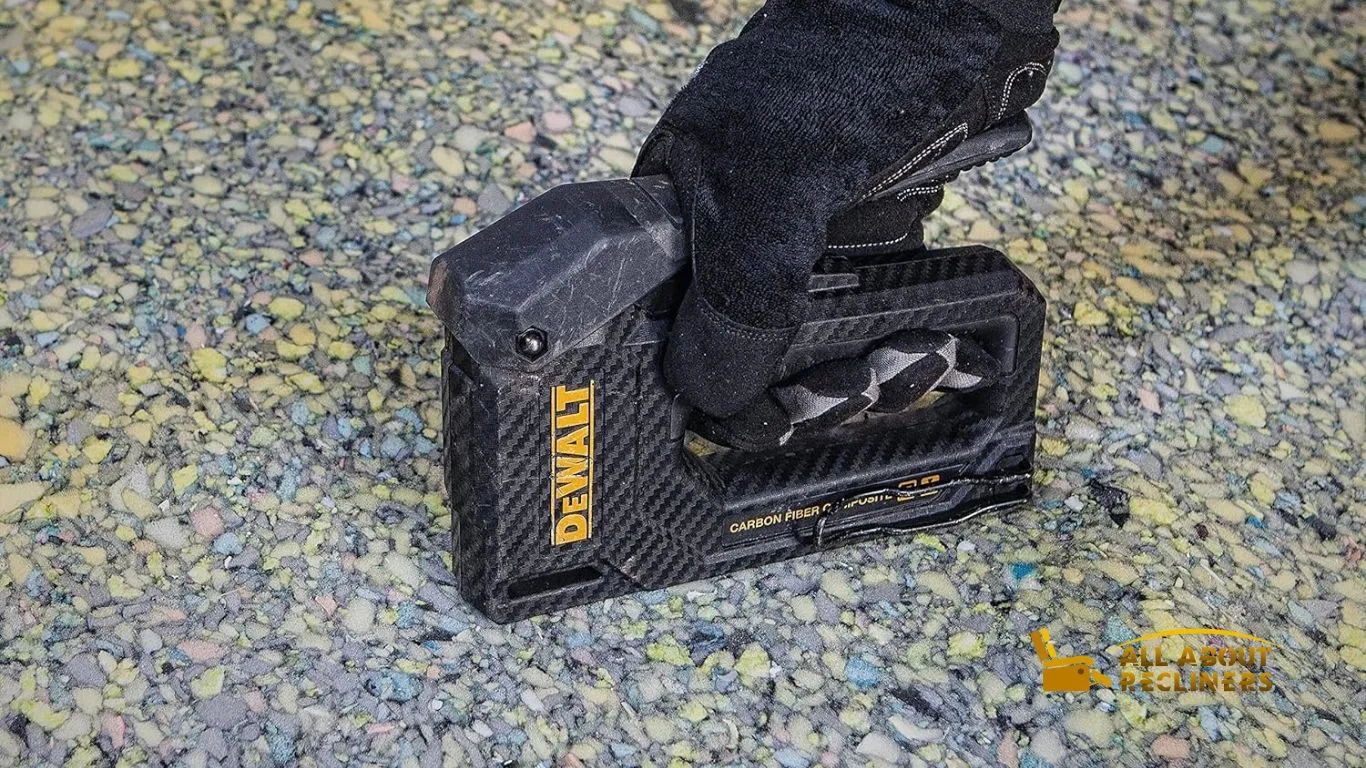
Time required: Depending on your experience level, it should take approximately 1-3 hours to complete this project.
Difficulty Level: On a scale from 1 to 10, with 1 being very easy and 10 being very difficult, adding padding to a recliner is approximately a 4. With the right materials and patience, most people should be able to do this project quickly.
Read Also: Best Recliner Chairs for Small Spaces
Step-by-Step Instructions for Adding Padding to a Recliner
Follow these steps to give your recliner an upgrade:
Removing the old padding
If your recliner has existing padding, you’ll need to remove it before adding the new foam. Gently pull the upholstery off the frame and use a screwdriver to unfasten any staples holding it in place. Once all the old padding is removed, examine the frame for any areas needing repair.
If the padding of your recliner is old and sagging, the frame may be damaged. If there are any weak spots, reinforce them using wood glue and screws before moving on to the next step. Some recliners come with a removable cushion that can be removed and replaced with new foam and fabric. If yours is one of these, you can skip the step above.
Cutting and measuring the new foam
Now it’s time to get your padding ready for installation. Measure the area of your frame that needs cushioning, then cut a piece of foam to fit. Make sure you buy high-quality cushioning foam; if it is too thin or not dense enough, it won’t provide adequate support when you sit in the recliner.
The size of the foam should be slightly larger than the frame area so that it fits snugly when you attach it. Once you’ve cut the foam, use a ruler and marker to draw an outline of the shape and size of your recliner frame onto the foam. This will help you ensure everything lines up correctly when you attach it.
If needed, cut foam into two or more pieces to fit the contours of your recliner frame. If there are hollows in the frame, use small pieces of foam to fill them in. Once all your foam is cut and fitted correctly, move on to the next step.
Read also: Adjusting a Recliner That Leans Back Too Far
Adhering the fabric to the foam
Now it’s time to attach your fabric to the foam. Start by applying a thin layer of glue or spray adhesive to the top side of the foam and pressing your chosen fabric down onto it. Make sure you cover the entire surface area, stretching out any wrinkles. Once the fabric is firmly attached, cut off any excess material with a pair of scissors.
Next, fold the sides of the fabric over onto the back side of the foam and secure them in place with glue or staples. Be sure to leave a small gap between each staple so that you have room to maneuver when attaching it to your recliner frame. This will also help reduce any pulling or bunching of the fabric when you sit in your recliner.
Finishing touches for a comfortable and stylish recliner
Once you’ve finished attaching the foam and fabric to your recliner frame, it’s time to give it some finishing touches. Add any decorative trim and buttons to cover up any staples or glue visible on the outside of the fabric. You can also add throw pillows and blankets for extra comfort and style.
Finally, place the recliner in its desired spot, sit back, and enjoy your new seating experience! With a few simple steps, you’ve transformed an outdated piece of furniture into something luxurious and comfortable. Upgrading your recliner with padding is a great way to not only increase its comfort level but also add a touch of style to any room.
Read also: How To Repair A Recliner – Step-by-Step Instructions
Frequently Asked Questions
To put a cushion on a recliner chair, you must first take off the backrest and then slide the cushion onto the frame. Make sure it fits snugly in place before replacing the backrest. You may also need to secure the cushion by using straps or ties.
If your recliner feels too stiff, adding additional padding can help make it more comfortable. The padding can be in the form of a cushion, foam, or other material. You can also layer multiple cushions for an extra layer of comfort. Adding an adjustable headrest will also help improve your recliner’s comfort level.
First, remove the old padding (fabric and any existing foam). Next, measure the area you want to pad carefully. Cut a piece of foam that is slightly larger than the measurement taken. Place the cut piece of foam on the seating area or backrest of your recliner. Secure it in place with upholstery staples or glue.
Start by carefully removing the old stuffing from the recliner. Ensure to note how much stuffing was originally used and where it was placed. Next, measure or weigh the same amount of new filling material and place it into the seat cushion or backrest areas. Secure your stuffing with upholstery staples or glue, and add fabric to the cover.
Conclusion
Adding padding to a recliner is a great way to make the chair more comfortable. With a few simple steps, you can give your favorite chair a major upgrade in comfort and style.
Whether adding extra stuffing or replacing the cushions completely, you can easily make your recliner feel like new. With extra work and the right supplies, you’ll be lounging in comfort in no time. So what are you waiting for? Get ready to get comfortable in your recliner.


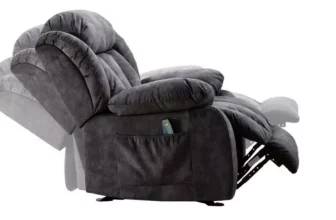


[…] of your spine to keep you comfortable while watching TV or reading a book. This recliner chair has plush padding throughout for added comfort, so it’s easy to relax after a long day at work or when binge-watching your favorite […]
[…] will fall asleep in no time when sitting the first time, and that’s the sign of a good recliner. The microfiber used in it makes it always inviting, whether it is chilly, cold, or […]
[…] How to Add Padding to a Recliner […]
[…] cushioning is also worth mentioning. The chair is well-padded and provides excellent support for my back. The material is soft to the touch, and I can sit in the […]