How To Assemble a Recliner Sofa – Step-by-Step Expert Guide
Key Takeaways
- Most recliner sofas arrive in modular sections (left arm, right arm, center seat) designed for quick, tool-free assembly.
- The main steps: connect base sections, attach seat backs, and hook up power cords (if applicable).
- Most assembly can be done in 30–45 minutes using simple tools like a screwdriver or Allen wrench.
- Proper alignment and cable management ensure smooth reclining and long-term comfort.
To assemble a recliner sofa, unpack all parts and align the base sections in order. Lock the seats together using metal brackets, then slide the seatbacks into the guides until they click. Connect any power cables, secure all components, and test each seat’s reclining function. Assembly typically takes under an hour.
Introduction
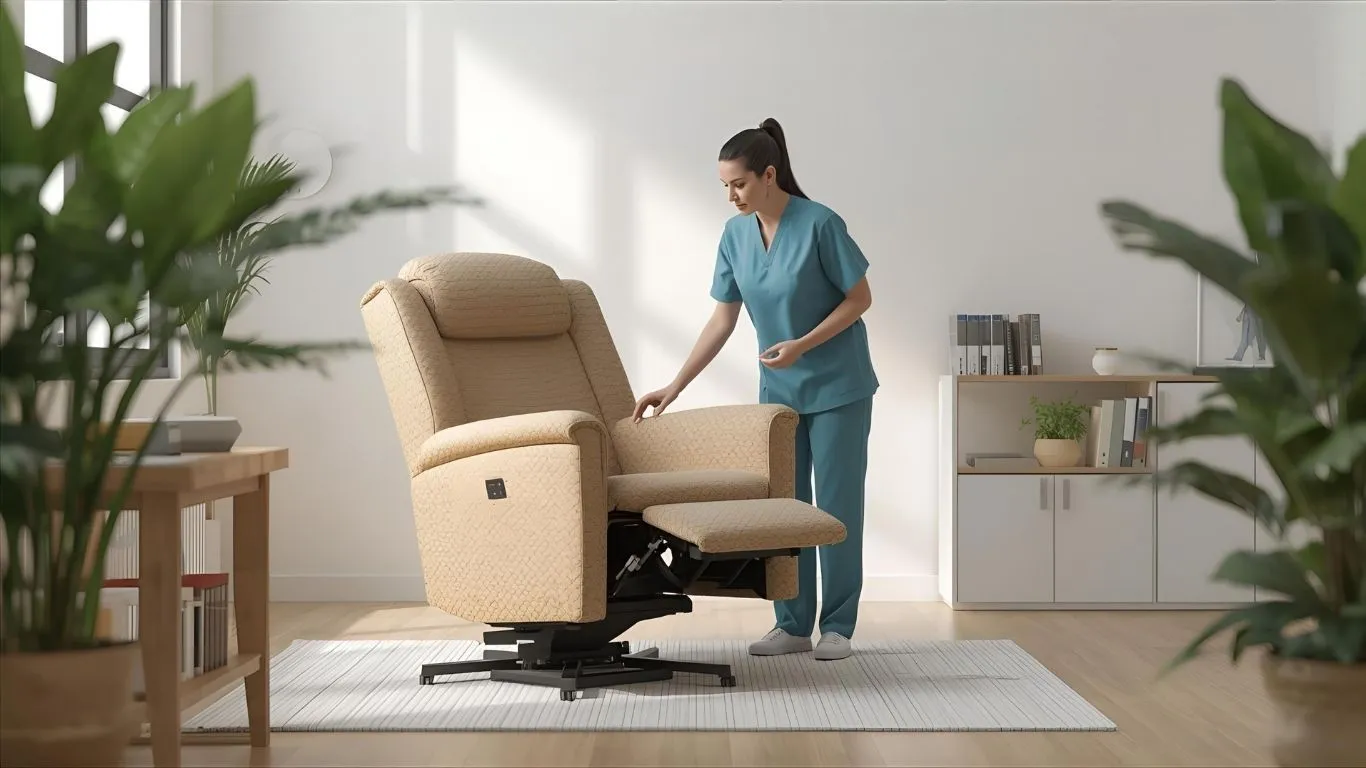
You’ve finally unboxed your new recliner sofa — and now your living room looks like a jigsaw puzzle of cushions, arms, and mystery brackets. Take a breath — it’s easier than it looks.
Modern recliner sofas are engineered for simple, modular assembly. You don’t need a professional installer or a workshop full of tools — just patience, a bit of space, and maybe a friend to help with the heavy lifting.
In this expert step-by-step guide, I’ll walk you through exactly how to assemble a recliner sofa, whether it’s a manual or power model, so you can be reclining comfortably in under an hour.
Understanding the Parts of a Recliner Sofa
Before you begin, it helps to understand what’s what.
Most recliner sofas — from two-seaters to full sectionals — arrive in modular sections for easy transport and setup.
| Component | Description |
|---|---|
| Base Frame | The seat and recline mechanism that form the foundation |
| Backrests | Detachable tops that slide onto metal guide rails |
| Arms | Usually attached to each end section |
| Center Console (optional) | Storage or cup-holder section between seats |
| Power Mechanism (optional) | Electric motor and wiring for powered recliners |
Each piece is designed to fit together with minimal effort — think “snap and click,” not “nuts and bolts.”
Tools You’ll Need
Most recliner sofas are built to assemble without specialized tools. Still, keep these nearby just in case:
- Phillips screwdriver
- Allen wrench (often included)
- Pliers
- Flashlight
- Cable ties (for organizing wires)
- Soft mat or towel to protect your floor
Pro Tip: Before starting, double-check the instruction manual and parts list to ensure you have every component and fastener.
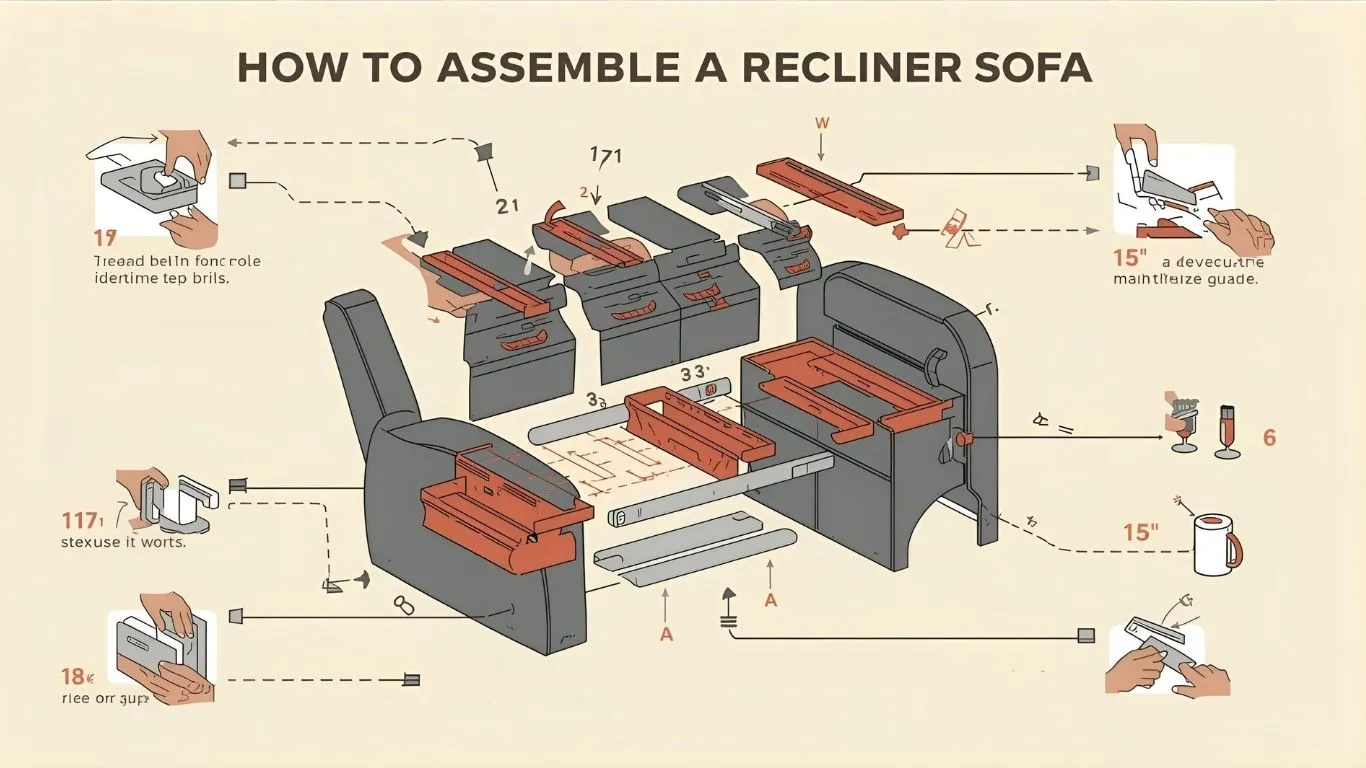
Step-by-Step Guide: How To Assemble a Recliner Sofa
Step 1: Unpack and Arrange Components
Remove all pieces from their boxes and lay them out on a clean surface. Keep small parts and screws in a bowl or zip bag to avoid losing them.
Arrange the pieces roughly in the shape of the finished sofa — left arm, center seat, right arm, and console if included.
Step 2: Connect the Base Sections
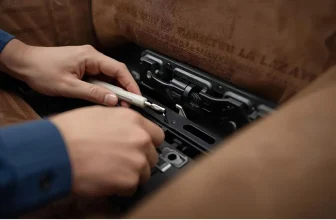
Align the metal brackets or slide-lock connectors on each base section.
- Push the pieces together firmly until you hear a click or feel them lock.
- If your sofa uses bolts, tighten them evenly with the provided Allen wrench.
- Gently tug on each joint to ensure a solid fit — there should be no gaps between sections.
This creates a sturdy frame for the rest of the assembly.
Step 3: Attach the Backrests
Each backrest has metal guide rails that fit into brackets on the base.
- Line up the backrest with the guides.
- Slide it downward until it locks into place with a firm click.
- Check that both sides are even — an unbalanced back can cause uneven reclining later.
If it doesn’t slide smoothly, check for bent rails or fabric obstructing the guides.
Step 4: Connect Power (for Electric Recliners)
For manual recliners, skip ahead.
If you have a power recliner sofa:
- Locate the power cords beneath each section.
- Connect each male-female plug between the seats.
- Route cords neatly with zip ties to prevent tangling or pinching.
- Plug the main cable into a surge protector, not directly into the wall.
Safety Tip: Always keep the recliner unplugged until all parts are connected and secured.
Step 5: Attach Optional Accessories
If your recliner includes a console, cup holders, or USB charging unit, now’s the time to attach them.
Use any provided screws or clips, following the manufacturer’s guide. Ensure all power accessories (like LED lighting or USB ports) are properly connected before testing.
Step 6: Test the Recline Function
Flip the sofa upright and sit down in each seat.
- Pull the lever or press the button to recline.
- Check that each section operates smoothly and evenly.
- Listen for grinding, clicking, or stiff motion — these may signal a misalignment underneath.
If one section feels off, gently lift and reseat the backrest until it clicks firmly.
Step 7: Secure and Finish
Once you’re satisfied with alignment and motion:
- Tighten all bolts and screws again for security.
- Use zip ties to tidy any visible cables.
- Recheck all seat locks by pushing the sections together one last time.
Then — take a step back, admire your handiwork, and enjoy that first glorious recline.
Troubleshooting Common Assembly Issues
| Issue | Cause | Quick Fix |
|---|---|---|
| Backrest won’t click in | Misaligned guide rails | Re-seat at a straight angle and push down firmly |
| One side reclines unevenly | Loose base connector | Reconnect sections tightly and retest |
| Power not working | Loose power cable | Unplug, recheck connections, and plug in again |
| Recliner won’t close fully | Fabric caught in mechanism | Inspect underneath and remove obstruction |
| Squeaking noise when reclining | Dry mechanism | Apply light lubricant on moving joints |
Manual vs Power Recliner Sofa Assembly
| Feature | Manual Recliner Sofa | Power Recliner Sofa |
|---|---|---|
| Assembly Time | ~30 minutes | ~45–60 minutes |
| Tools Needed | Minimal (usually none) | May need screwdriver for cord clips |
| Steps Involved | Align and lock sections | Align, lock, connect cables |
| Complexity | Easy | Moderate |
| Testing | Pull lever manually | Plug in and press control buttons |
Safety Tips
- Unplug all power components before starting assembly or disassembly.
- Avoid forcing parts — realign them gently instead.
- Never recline seats until all sections are securely locked.
- Keep small hardware and cords out of reach of children and pets.
- Lift heavy sections with a helper to prevent injury or frame misalignment.
Soft Persuasive Insight
Assembling your recliner sofa isn’t just about putting furniture together — it’s about setting up your comfort zone. Whether it’s movie nights, naps, or weekend lounging, this piece is about to become the heart of your living room.
With modular engineering and simple design, you don’t need to be a handyman — just follow these steps and enjoy that well-earned first recline.