Guide to Assemble a 3 Seater Recliner Sofa
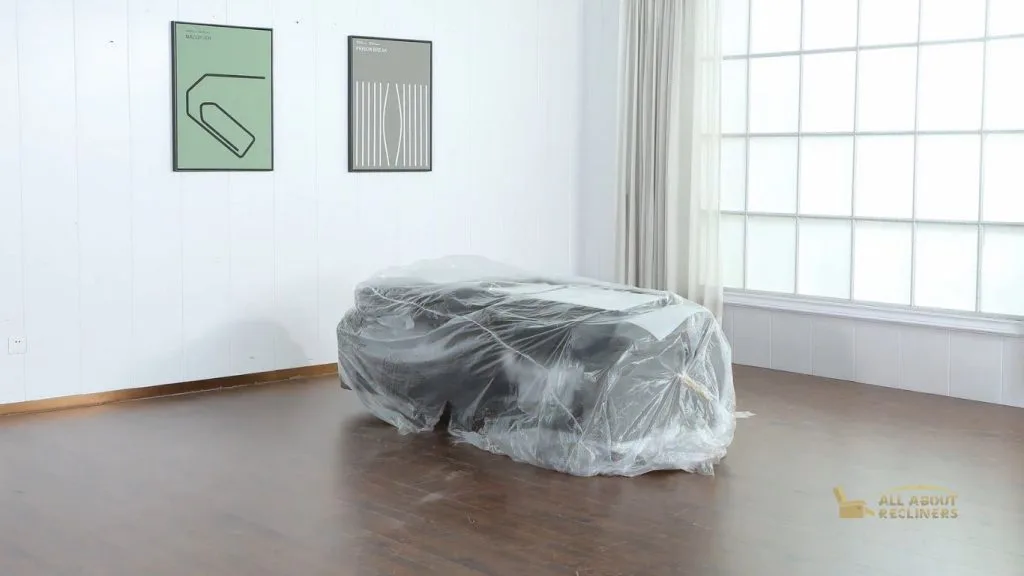
Do you want to upgrade your living space with a sleek and stylish three seater recliner sofa? Congratulations on taking the first step in the right direction. Now the next step is to assemble your recliner sofa to be used and tried.
Many furniture brands offer assembly service for some extra bucks, and people perceive that putting together a recliner sofa may be a daunting task. But with the required tools at hand and clear instructions, you can effortlessly build your recliner sofa in no time!
Recliners come in multiple boxes, with different parts packed separately. Assembling different parts (back, footrest, armrests, headrest, etc.) might slightly differ for each brand and model, but general instructions remain the same. And most companies have instructional manuals to help with easy assembly.
This guide will take you through every step of how to assemble a three-seater recliner sofa, so you can enjoy your new furniture in no time.
Step 1: Gather all the necessary tools
The first step to assembling your recliner sofa is to gather all the necessary tools. Depending on the manufacturer, the tools needed may vary. You can still refer to the instruction manual that came with your recliner sofa.
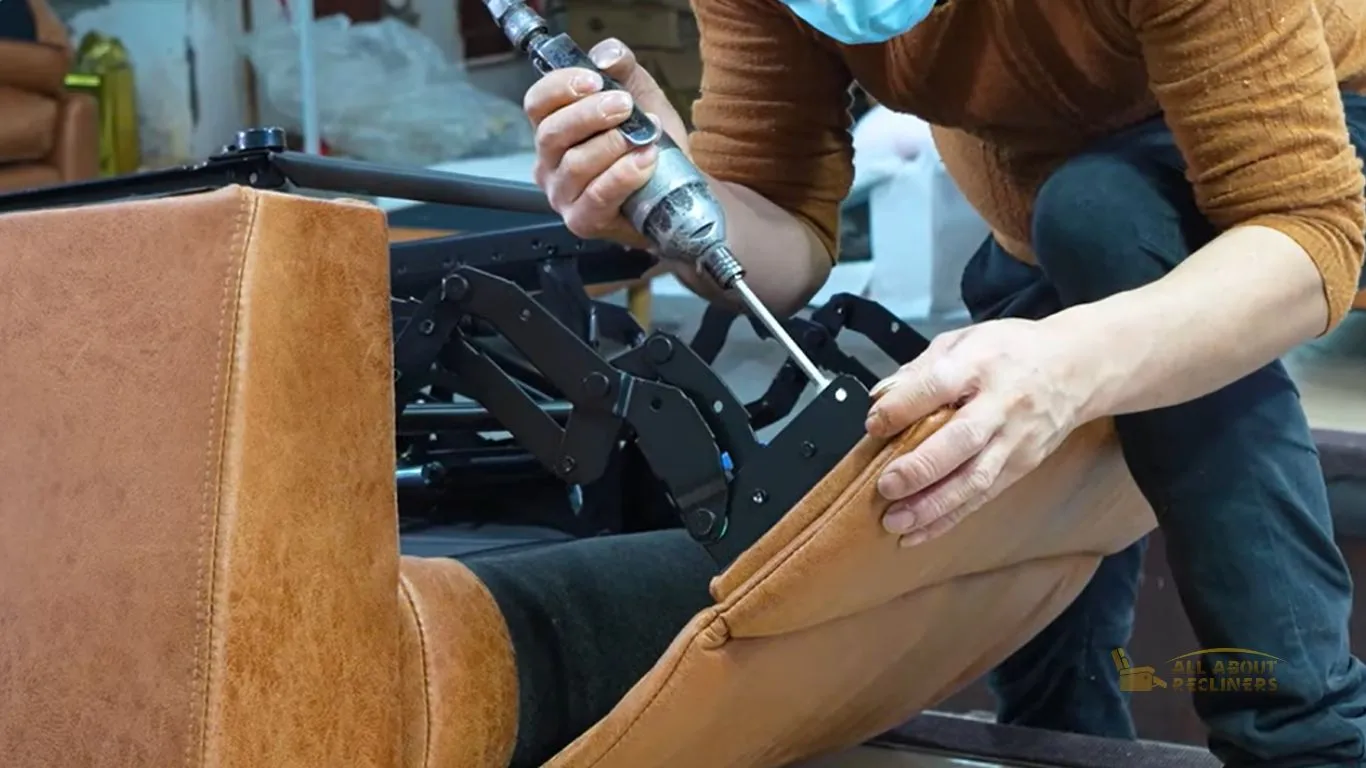
Generally, you’ll need the following tools: a screwdriver and screws, and an Allen key or wrench. Additionally, it’s important to have a friend or family member on hand to help you hold pieces together when necessary.
Step 2: Lay out all the pieces
Before you start assembling, you’ll need to lay out all the pieces that make up the sofa. Make sure you have all the parts required before starting the assembly operation.
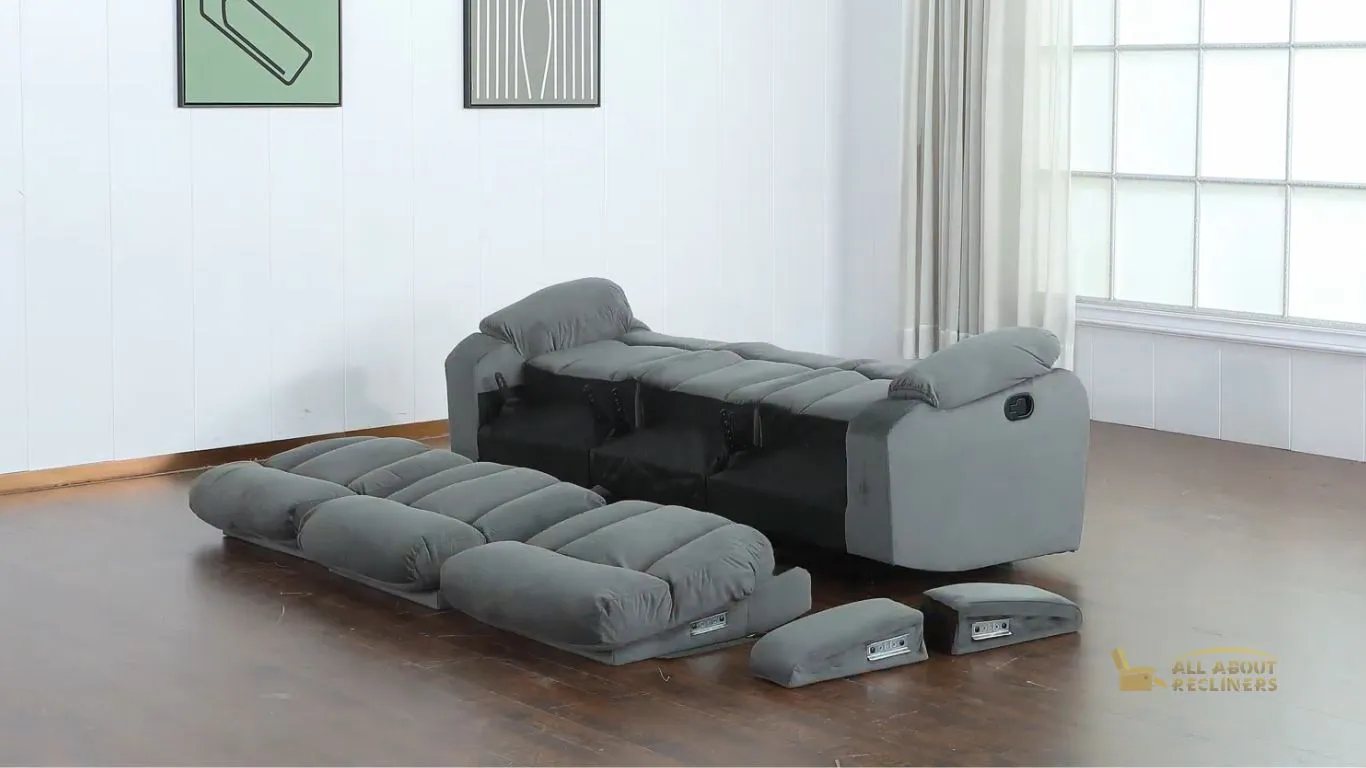
After the layout, put the pieces together and organize them based on the assembly procedure. This will help make the assembly process much smoother.
Step 3: Assemble the frame and legs
Starting with the frame and legs, attach each of these pieces following the instructions provided in your manual.
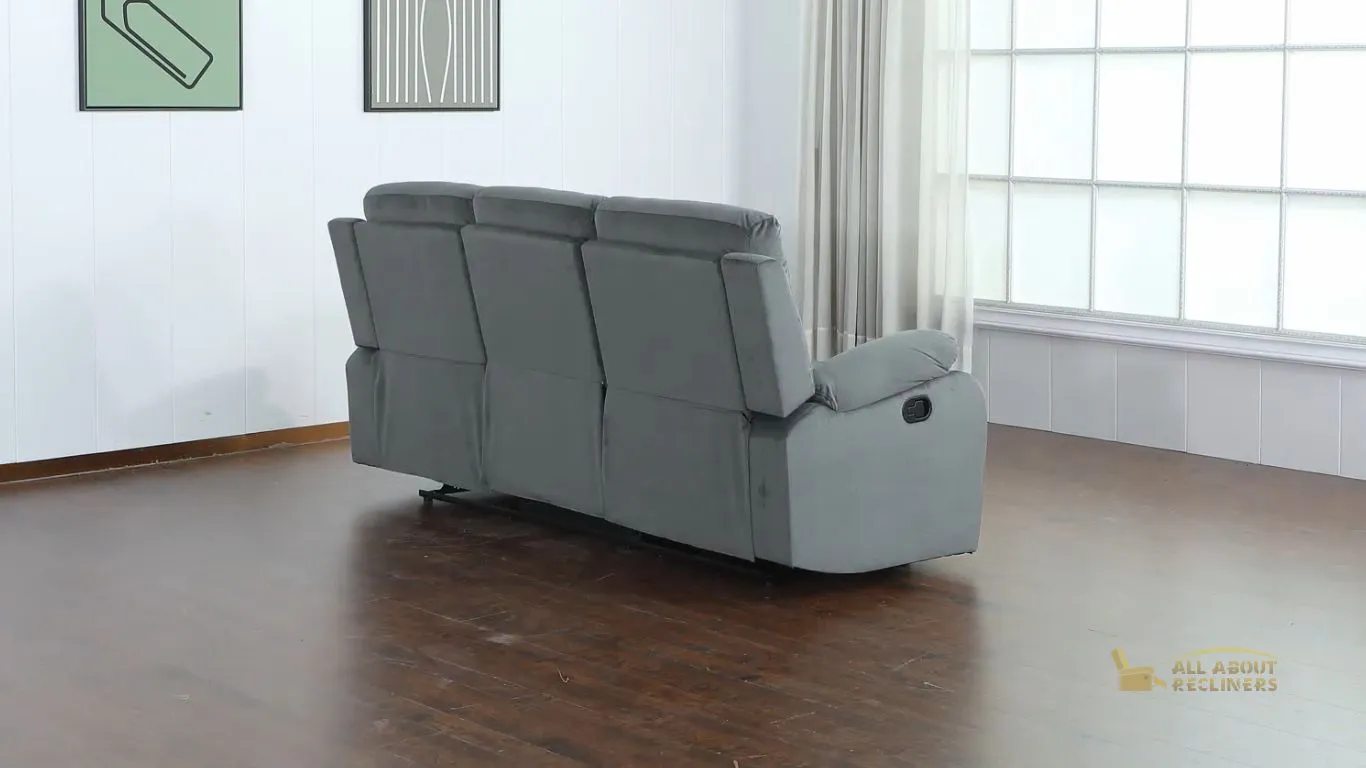
Make sure all screws are securely tightened to ensure the stability of your recliner sofa.
Once you’re done assembling the frame and legs, use a screwdriver or whatever tool is needed to secure the seat with legs. For some recliners, you might only need to twist the legs with a seat frame without any tools.
Step 4: Attach upholstery fabric
Now, after securing the base seats, lift the upholstery fabrics and locate brackets or buttons under them. Align frames together and put the backrest in place. Here, you might need any other tool
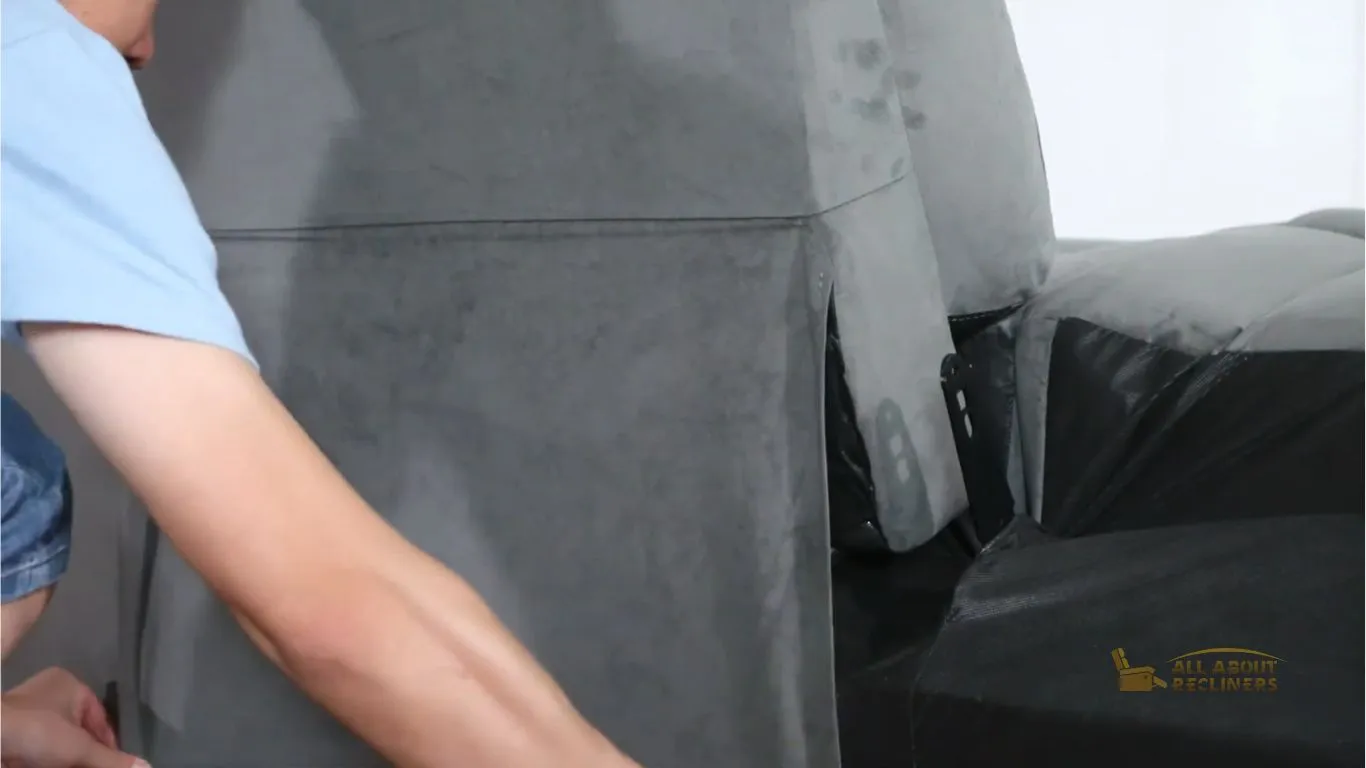
Here, you might also need an extra pair of helping hands to adjust the backrest in place (to push it in place with force.)
Attach the brackets to the upholstery fabric on the backrest frame and make sure they are in place.
Now repeat the same steps for the seat and armrests.
Step 5: Attach All the Snaps in Place
Finally, attach all the snaps to every corner of the sofa. Locate buttons, zippers, or velcro straps in the base of the recliner and fold the upholstery flap underneath.
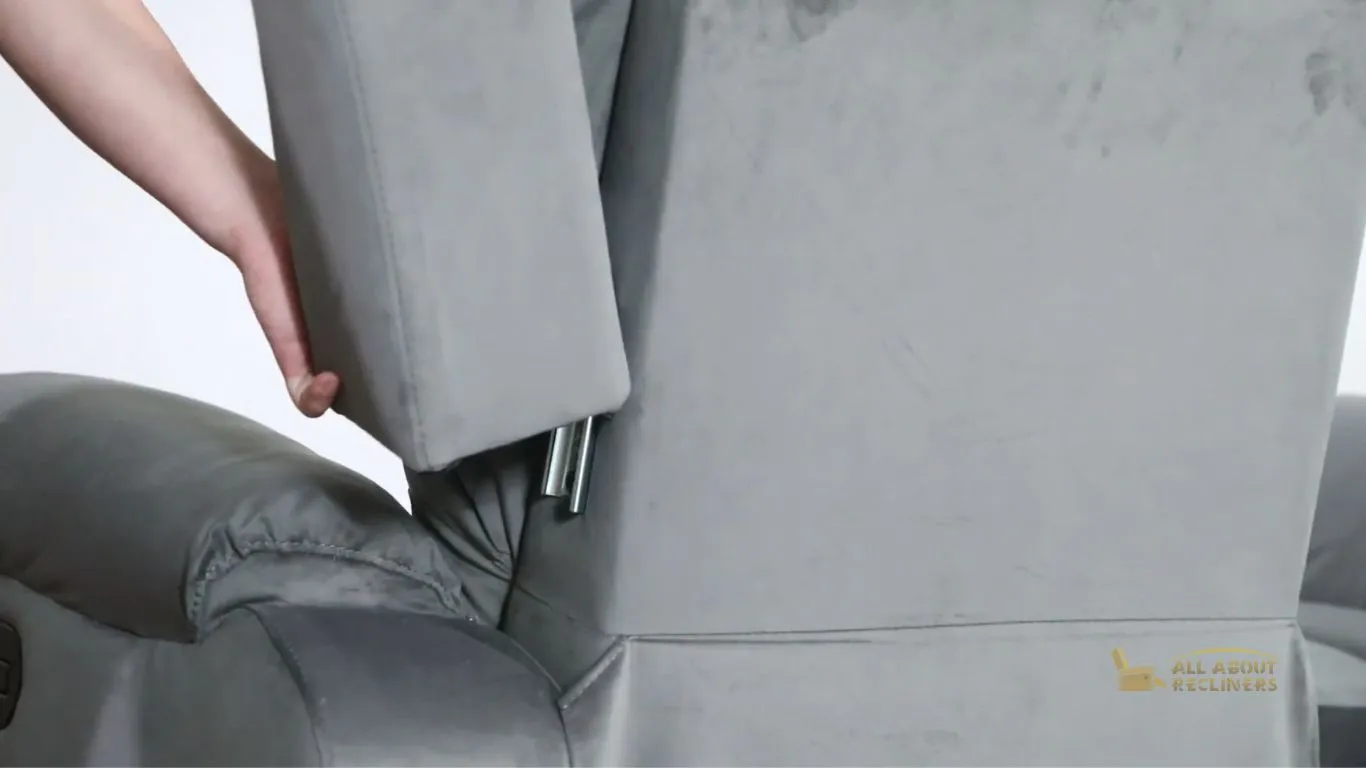
Once every piece is securely in place, add any extra cushioning or pillow if required.
Your recliner sofa is ready to be used!
How to Disassemble Your Three Seater Recliner Sofa?
Reclining furniture is a great addition to any living room or den, allowing you to easily adjust the angle of your seating position for maximum comfort. And when you want to shift your home or room, no one wants to leave their favorite piece of furniture.
When it comes time to disassemble your three-seater recliner sofa, the process can be a bit daunting. Fortunately, with the right steps, you can easily disassemble your recliner sofa and transport it to its new home.
All you need to do is follow these steps and pay some attention to the process. And it’ll save you a few hundred dollars.
So let’s get started!
Step 1: Understand the working Mechanism of your recliner sofa
To disassemble your recliner, you need to understand its working mechanism. Recliners have separate parts, including armrests, leg rests, backrests, and cases or frames. All these parts usually slide into their places during assembly and are secured with brackets.
To disassemble our recliner, we need to take out these sliders and detach them from the frame.
Step 2: Gather Necessary Tools
Gather any tools you may need to help disassemble your three-seater recliner sofa. This may include Phillips and flathead screwdrivers, pliers, a mallet or hammer, and an adjustable wrench.
Step 3: Clear the Area
Clear the room of any furniture and objects that may be in the way of your disassembly project. You’ll want to ensure you have plenty of space and a clear path for carrying large pieces once they’ve been removed from the sofa frame.
Step 4: Remove Seat Cushions
Using a flathead screwdriver, remove the screws from the seat cushion covers. Carefully remove the foam cushion inserts from each seat and set them aside. Now, remove any screws holding down the seat cushions.
Step 5: Remove Upholstery
You’ll now need to remove the upholstery fabric surrounding the frame and arms of the sofa. Begin by utilizing a screwdriver to take off any stitching and snap buttons holding the fabric in place around the frame. Once all of these have been removed, you can carefully take off the upholstery fabric from all parts of your recliner.
Step 6: Take out all sliders and Remove brackets
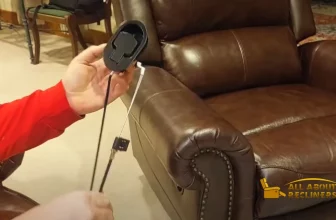
Now take out all sliders by lifting them with your hands. Here you might see any screws or brackets that secure the headrest to the frame of your sofa.
Normally, 3–4 long screws secure the headrest to the bottom of the seat. The top area of the headrest is attached to the backrest with the help of hinges.
You need to unscrew all those screws to detach the headrest from the frame of the recliner. A flathead screwdriver serves the purpose of detaching here.
Similarly, we can detach the headrest and backrest from the bottom or base of the seat with the help of a screwdriver.
Here, you need to note that your recliner might vary in terms of screw placement and location.
Similarly, remove armrests and leg rests in front of the sofa by unscrewing screws and removing hinges.
Be careful while keeping all those separated parts in the pile. Prefer keeping right and left parts in line for easy assembly at your next location.
Step 7: Detach Cases and Frames
Now that you have detached the armrests, leg rests, and backrests from the frames,. Locate the screws that keep the frame together. Unscrew them if needed, and detach those parts from the frame.
Here, you’ll need a screwdriver to unscrew those cases from the frame of the recliner.
Make sure to save the screws with you to assemble your recliner again. Here, you can reach all three seat frames from the back frames.
Keep all the pieces (frames and cases) safe. We would recommend keeping them in boxes or tying them with rope or twine.
Now you can easily use these parts and tools to assemble your recliner sofa at your next location if you are planning to shift elsewhere. Or you can simply shift your recliner from the ground floor to the first floor without lifting it through the stairs and fear breaking it altogether.
FAQs
Here, we have tried to answer all frequently asked questions related to the assembly and disassembly of your 3-seater recliner sofa.
What Do I Have To Pay Attention To When Disassembling A Recliner?
Secondly, make sure to keep all the screws and sliders to be used again.
Why do I need to disassemble my recliner sofa?
How much does it cost to disassemble my recliner sofa by a professional?
Conclusion
Finally assembling and disassembling your furniture might seem like an unnecessary headache. But a little time and effort put into this task can save you a few hundred bucks that can be spent elsewhere (how about a cheesy sandwich or mouth watering hamburgers??)


[…] can read more about Guide to Assemble a 3 Seater Recliner Sofa and Is sitting on a recliner harmful to […]
[…] begin with. Fear not! In this comprehensive direct, we are going walk you through the step-by-step guide to assembling your 3-seater chair couch, making it a clear and pleasant assignment for indeed the slightest experienced DIY […]
[…] Ashley Yandel Faux Leather Electric Recliner is my personal favorite for many reasons. It’s comfortable, well made, and extremely easy to assemble. […]
[…] Guide to Assemble a 3 Seater Recliner Sofa […]
[…] Read also: Guide to Assemble a 3 Seater Recliner Sofa […]