How To Repair A Recliner – Step-by-Step Instructions
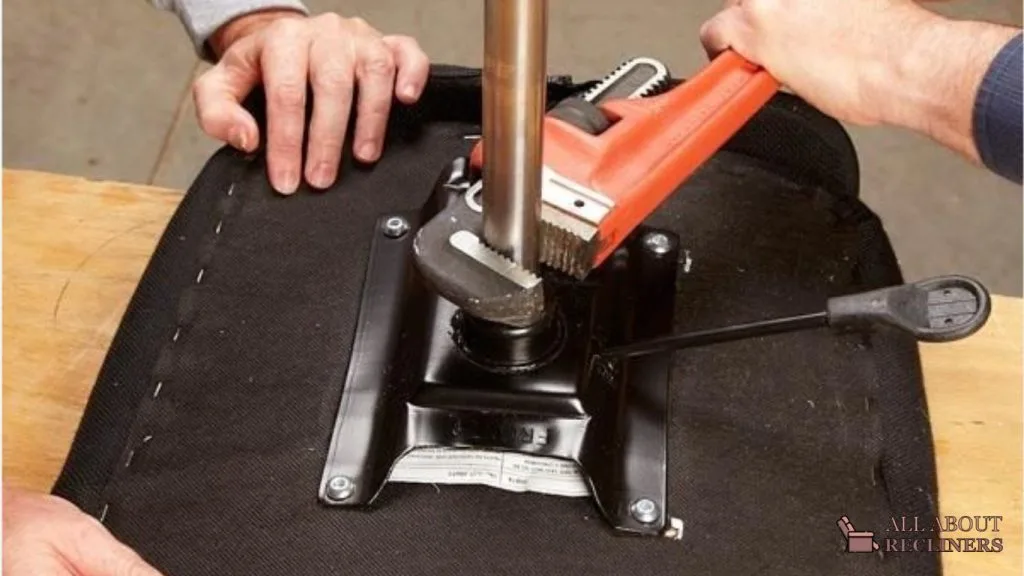
There are many reasons for the constant need for recliner repair. One of them is that people tend to lean back in their chairs, which can cause pressure on the springs and lead to breakage. Another reason is if someone has pulled too hard on one of the arms, causing it to come detached from the frame, or if an armrest breaks off. There are also times when cats jump up onto a recliner and scratch at it. These scratches will weaken any fabric with time and eventually tear right through it, ruining your piece of furniture forever.
Types Of Recliners
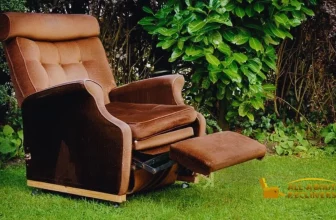
There are two different types of recliners. First, there is the standard recliner, which, as you may have guessed by now, is a chair that you can adjust into a reclining position with the help of a lever or push button.
Common Malfunctions Of The Recliners
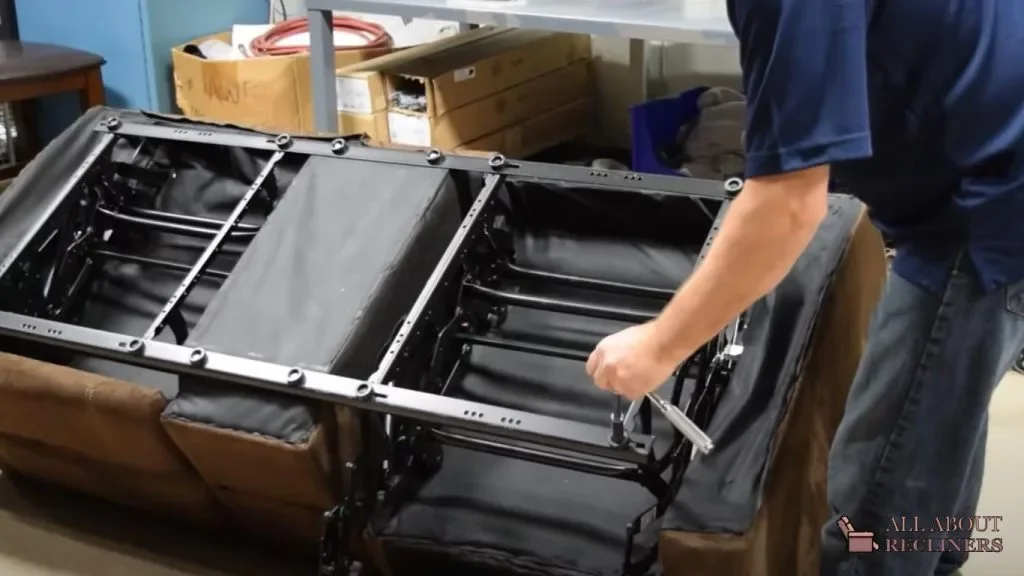
Many problems can occur with recliners. First, you may have a chair whose reclining mechanism has become jammed and is no longer functioning correctly. Next, there could be a problem with the lever that releases the footrest; this happens when someone pulls on it too hard. The other issue that can occur is losing balance and control when rising from a reclining position.
In this blog post, you will learn how to fix a recliner.
How To Repair A Recliner Chair Mechanism
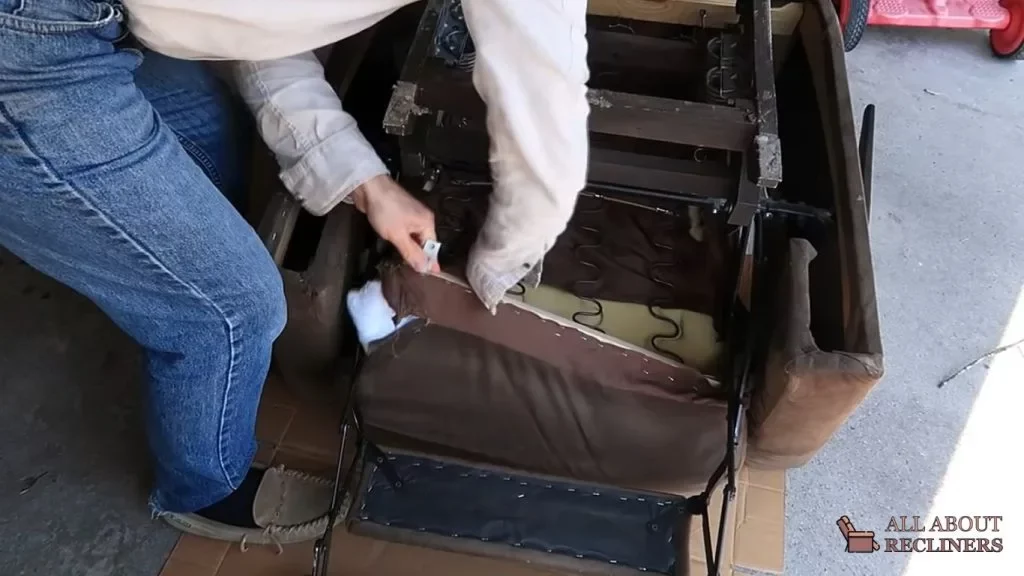
If your recliner mechanism seems stiff when moving, whether up or down, then most likely, something inside your mechanism has jammed and you need recliner chair mechanism repair. You have two options here:
1.) Take apart your reclining mechanism manually by removing the side wings and seat frame.
2.) Use a set of “Pry Bars” to gently pry open your detaining mechanism, which will free it from jamming.
If you have an older model recliner, then most likely accessing the interior of said mechanism manually is how you repair recliner mechanism; if this is the case, then just go ahead and take apart all springs, side-wings, and seat frame screws before doing any repair work.
Once removed, examine what parts were inside when they were broken in half or jammed. It should give you some idea of what parts will need replacing if this is your first time repairing recliner chairs.
If there is dirt or grease inside, you’ll most likely need to clean the mechanism thoroughly with some isopropyl alcohol and acetone.
Read also: How To Adjust Recliner Chair
If there is still a jamming problem after inspecting all parts for damage, then go ahead and use the “Pry Bars” to gently pry open your mechanism; if it rips apart, then no big deal as long as you know what part needs replacing—assuming, of course, you have a spare in hand for replacement.
Please note that normal wear and tear over the years can cause your recliner mechanism to become misaligned, which in turn causes it to jam as you try lifting it up or down. Alignment must be made after taking apart any jammed part; this is done using a screwdriver and gently tapping to align the correct elements.
If nothing seems wrong with your reclining mechanism, then chances are it’s just old and worn out.
If those “Pry Bars” fail to do their job on whatever part of your chair is broken, then you’ll need to use the screwdriver and unscrew them from the seat frame; this is assuming, of course, that the screw has not seized up from rust. If you’ve never used a power drill for this purpose before, I suggest using some WD-40 first; it will help prevent seizing whatever screws are positioned into the seat frame.
Replacing Recliner Mechanism
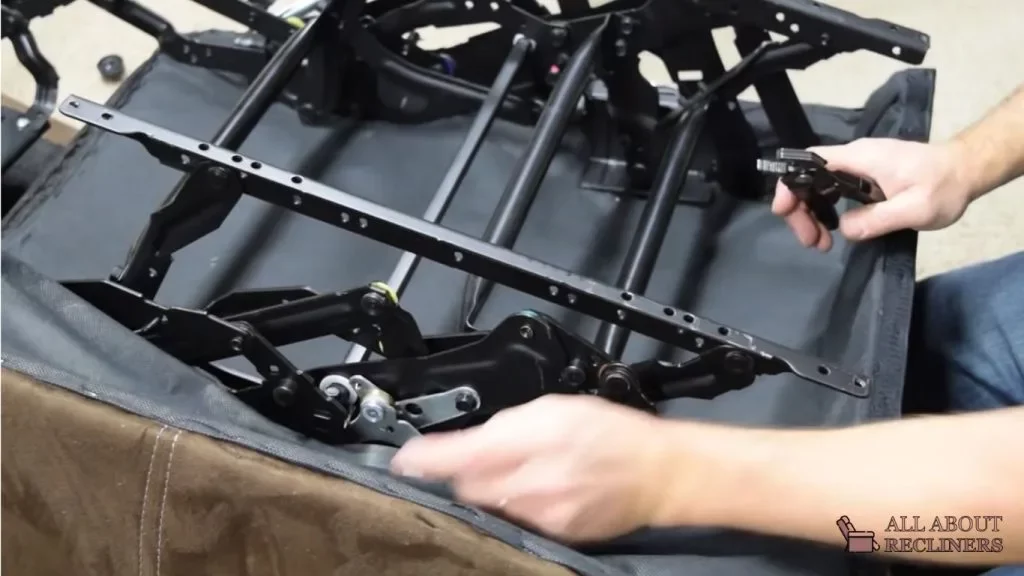
Now, if your recliner mechanism seems like it’s still working after taking it apart and cleaning out any debris or dirt causing it to jam, then go ahead and replace parts as needed until everything feels normal again; just make sure to use high-quality components when possible.
Reassemble the recliner mechanism.
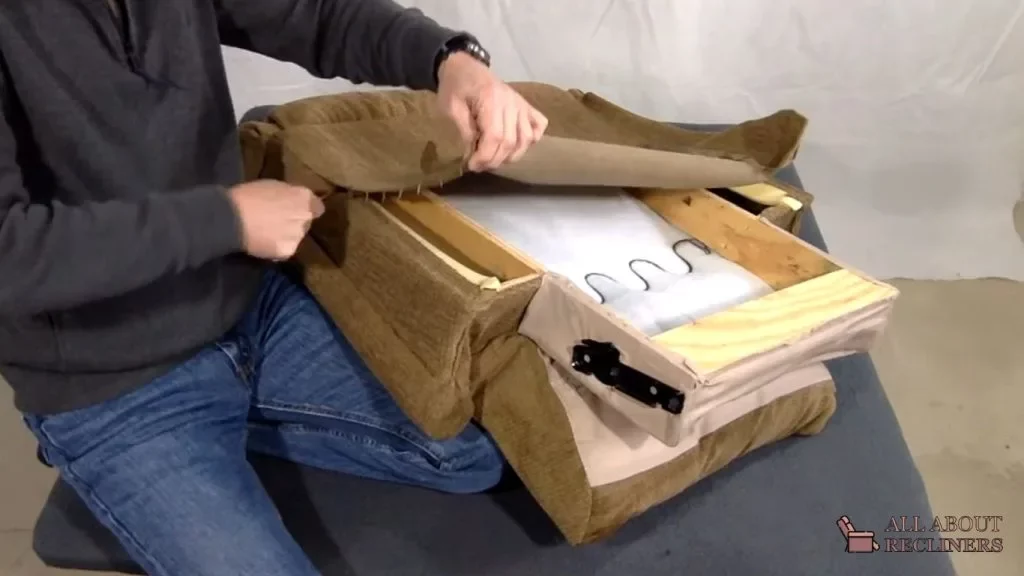
Reassembling doesn’t take long at all; it’s just putting everything back together in reverse. But first, always make sure that all screws are screwed in tight after repair reclining chair mechanism; otherwise, your chair will fall apart again. To be safe, apply some grease to any surface where two parts are connected so that everything can move nicely and smoothly when in use.
As for springs, you want to make sure that they’re put back into their original position; if you don’t know what part goes appropriately aligned, look at the old one. After this is done, re-assemble according to the instructions above with all new pieces you’ve purchased, and there you go. You should have yourself a fully functional recliner again after completing the steps to how to fix a recliner chair mechanism.
How To Fix Recliner Footrest Or Armrest
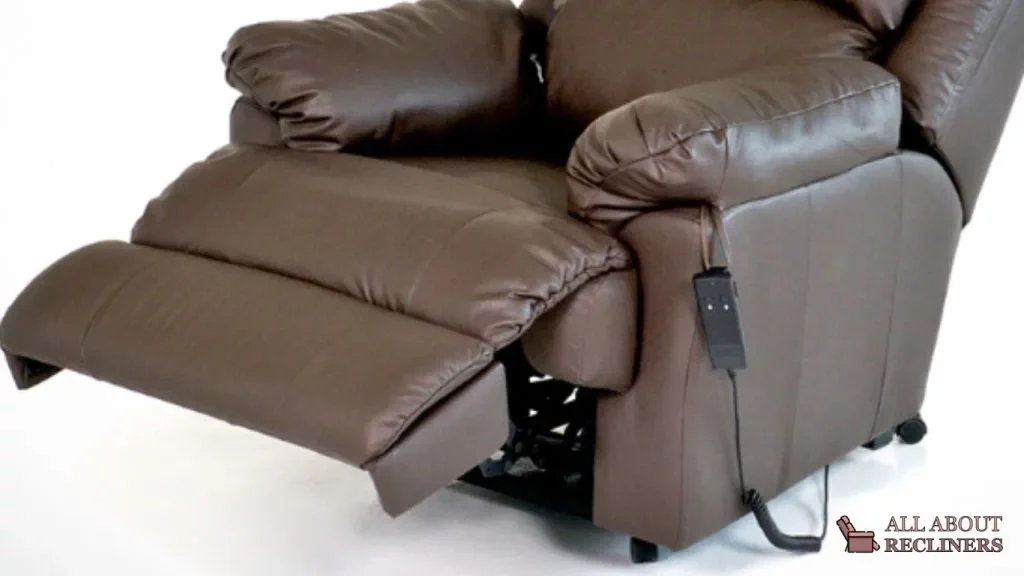
If the recliner arm or footrest is broken and needs to be repaired, it will require a two-step process. First, you must disassemble the recliner chair part in need of repair. After this, you may remove any needed parts from your damaged recliner chair part and attach them back onto another section that can function as a replacement. When done, the new part (the one with the needed parts installed onto it) must be attached back to the recliner chair.
To begin repair work to disassemble your recliner arm or footrest, you will want to use a Phillip head screwdriver and separate the cracked pieces by unscrewing any visible screws. When done, you will want to remove the screws holding the broken arm or footrest in place and separate it from the recliner chair entirely.
When eradicated, examine all of the parts inside to determine what exactly needs replacing. First off, you will need to return any damaged metal components or plastic pieces; these should be replaced with new metal or plastic parts.
After this, if your smaller parts are damaged and cannot hold the arm or footrest together correctly, you will want to replace these with any type of screws that can keep it in place when fully assembled once more.
Finally, if anything seems to be missing from your recliner parts—such as a screw or bolt—you will need to go back to home improvement stores and purchase replacements for them at a minimal cost.
When all repairs have been completed on your broken recliner arm or footrest, you can begin reassembly simply by reversing the steps used initially to disassemble it.
First off, remove any new parts installed onto the piece being repaired; after this, use your Phillip head screwdriver to reassemble the fixed recliner arm or footrest in reverse order.
Once complete, attach any new parts (the ones removed from working pieces) back onto the chair that needs repair, and you will be finished with the repair project once more.
How To Fix Recliner Chair Springs?
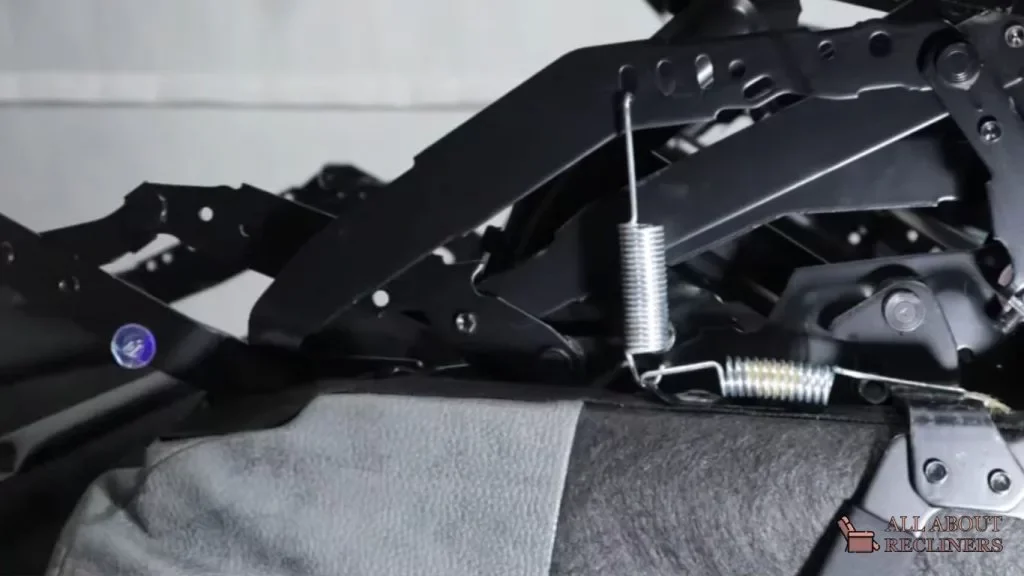
If you have a recliner chair that is stopped in an upright position because of broken springs, you need to know how to fix recliner chair tension springs. The springs are the part that makes your footstool stay up when you lean back. You can replace these with new ones or use a few extra spring coils and make sure it stays put with some metal clamps.
Ensure that all the recliner chair parts are cool before starting not to burn yourself while working.
Push the footstool down until it is in the farthest reclining position, which will make it easier to work with.
Disconnect the bottom part of the seat from where it sits on the backrest by removing two bolts that hold this together. After doing this, remove another bolt near where you disconnected and disconnect a metal clamp connected to each side of the chair frame.
To do this, insert a flat blade screwdriver under the lip of tightening clamps and press down slightly while turning counter-clockwise until you can eradicate it.
Now get out your new tension springs which come as a coiled wire, so you will need to spread them open before installing between parts on the chair frame.
Just follow instructions earlier in disassembly to put the recliner chair back together.
When the job is complete, be sure to test the position of the footrest. If you can still quickly push it down, remove clamps and tighten a few more turns with a screwdriver or pliers because too much tension may also snap new springs.
Checkout: Best Recliners For Back Pain
How To Fix Recliner Pull Handle?
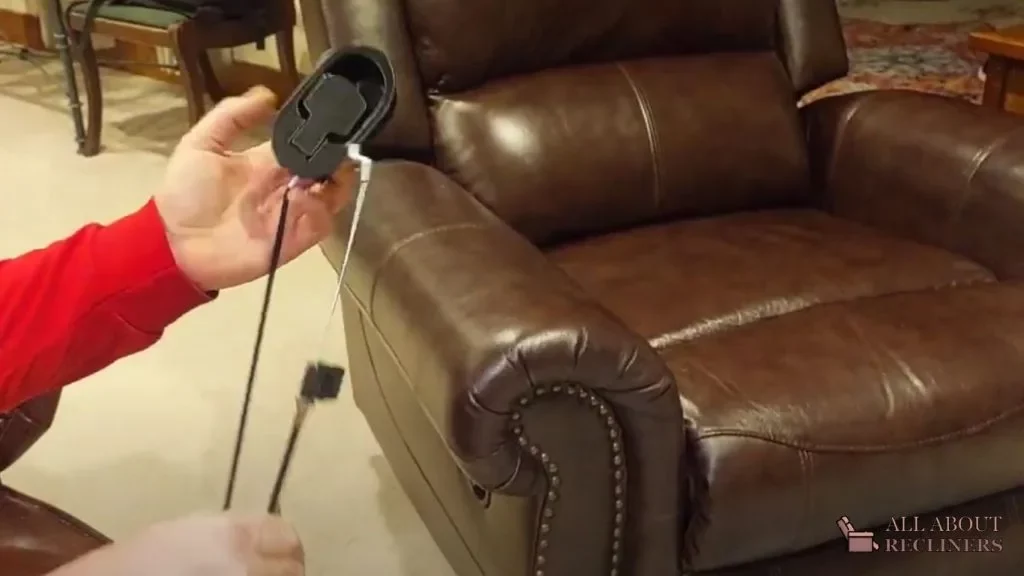
Turn over your recliner and locate the broken pull handle( it looks like a significant wide magic marker ). Usually, there will be four screws or bolts. You should already see it once unscrewed.
Once all four are out, take apart the metal bracket holding on to the original handle (by turning it clockwise) and set it aside so you know how to put it back together.
Lay down your fabric, then lay off your new handle with screw holes lined up with brackets underneath your chair. ( If you purchased without handles )
Place original handle/metal bracket onto newly laid-out material & mark where holes need to be drilled into the wood.
Remove handle, drill holes through the wood (a hand-held rotary tool will save a lot of time here) and place back onto the material with newly drilled holes appropriately aligned with a bracket underneath of chair. ( making sure the front screws are long enough to go through fabric & wood ).
Screw-in-place firmly using original nuts & bolts.
Stand up the chair, sit down.. test out (repeat at another end if necessary).
How To Fix Power Lift Recliner Motor?
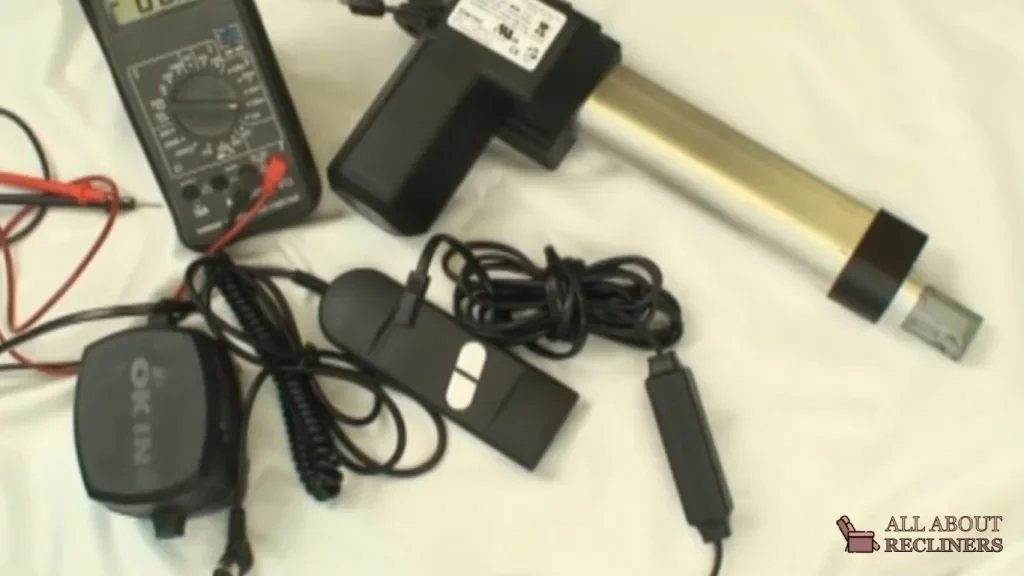
Disconnect the power cord from the power source.
Remove the four screws that hold the recliner chair motor cover and lift the motor cover. Some models will not have a cover to lift but rather a few screws to remove.
Remove the panel with wires attached to it that are covering the motor if your model has one. Most recliners no longer have this type of panel since many are entirely disassembled, making repairing recliners easier. Lift off the items appropriately aligned on each side to thoroughly remove them. Once you have removed the wires, flip over your recliner and look at where the footpad meets the chair’s frame. The next step depends on what type of motor you have on your recliner. If there is a metal insert attached to the floor frame and held in place by four screws, proceed.
Decide whether or not you will need to remove any wires from the chair’s base before removing it. If the sides are still connected, the following process would be best done after disconnecting one side. Then unscrew both ends of the metal footplate that meets the chair’s base and pull it out; this is where all power leads are fed into for activation. You will want to completely disconnect these wires if possible without causing permanent damage because some may get tangled up inside once you separate two pieces.
Checkout: Best Recliner for Short People
Using a flat-head screwdriver on one side of a metal footplate and a nutdriver or socket wrench on the other, start tapping them together until they are loose enough to lift and pull out. A small amount of force should do the trick after you get one open. Once removed, use your fingers to disconnect the wires inside because they may be tangled. If you have an extension cord without a box, then don’t worry about removing any cables because it’s already been done for you.
Locate where on the motor two prongs meet that feed power in (one round prong and one long prong) and remove the attachment using either pliers or your hands.
Remove the wires from these two prongs and cut each wire using a wire cutter close to where it connects to the motor without missing any part of the connection inside. Then use an extension cord with a ground attached, or make one by attaching the copper wire to the standard screw outside the footplate. Repeat this process for both sides of the motor.
Discard the old attachment hardware and wires mentioned above and attach a new one in its place using either pliers or your fingers and electrical tape around the prong end to keep it safe. Connect the extension cord ground wire into the new attachment piece as well, so there are no loose parts afterward. If you replace the current motor with a used one, you will have to do this step twice because each prong has a wire attached.
Once all wires are reconnected in the new attachment piece, place it back onto the motor and screw the nut plate (or cover, if applicable) back on; then re-attach the footplate (with the extension cord attached inside) using four screws into the base of the chair. Do not overtighten because you will damage the metal or strip the threads on the frame’s interior.
Using electrical tape, connect both sides of the footplate where they attach to prevent any future disconnects. Then flip over your recliner and tuck wires under the carpet; lay them flat so nothing is pinched when the chair is reclined. Reconnect both sides to one another and turn on the recliner. It should be working correctly.
Checkout: Best Recliners for 6 Feet or Tall People
If your model has wires attached to the panel that don’t have a footplate, two possible fixes depend on how your cables are set up. Please consult videos online before attempting either procedure for further instruction or reference.
If you have an extension cord without a box, then unscrew the green ground prong from the back of the motor and connect it to the round wire feed area on the other side using electrical tape. Take a piece of copper wire and attach it to the grounding screw outside of the wheel housing by stripping the bare metal so the screws bite into the copper wire (this keeps the power supply grounded as well). You will have to use alligator clips to keep wires attached to the wheel housing and motor at the same time.
If you have a box that connects to the circuit board, then take one male connector from the extension cord and connect it into the female part on the circuit board; using a wire cutter, remove prongs off the back of the power of the motor feed area (where two meet) and attach cable featuring alligator clips; turn the chair on and test if the new attachment is working correctly. Store old wires in a particular place for later use, or discard them.
Disconnect the footplate with an extension cord attached inside by unscrewing the metal plate, where four screws secure it together. Pull up to remove it altogether; disconnect the green ground wire from the back of the motor using pliers or your hands, depending on what type of receptacle you have, and connect it to the round wire feed area using electrical tape; attach alligator clips to another end of the copper ground wire and secure them onto a metal plate outside of the wheel housing. Reconnect extension cord wires to the circuit board using a male connector.
Once all connections are made, push the footplate (with extension cord attached inside) back down into the frame and screw the metal plate back into the place where four screws hold it together on the underside of the base. Connect both sides to one another again using electrical tape, and turn the chair on again. It should typically be operating after a few seconds.
Common Mistakes When fixing the Recliner Mechanism
There are some common mistakes you must avoid while repairing your recliner.
Using the wrong screws
Screws, especially for recliners, are unique and specific. You may have the right ones when you’re just starting to repair your recliner, but if you don’t use them correctly, you’ll run into trouble later on down the road. Especially if they need more extensive repairs down the road, that’s why it’s essential to make sure that your screws are screwed in tight or in a majority of cases. Most screw issues come from lazy workers who want everything done quickly without thinking about their overall quality of laziness.
Not leaving enough spare material
This is the biggest and most common mistake that so many make. People don’t leave enough extra material for themselves to work with. When you’re repairing anything, it’s important to remember that sometimes there will be some unexpected bumps in the road, and if you have too little excess material, it can cause problems later down the road.
Not thinking about your safety.
A recliner repair job isn’t a place where people think about their safety at all times while they’re working on it. That’s a big problem because sitting or lying on this type of furniture means that you need to rest assured that everything is safe for your health and well-being when you lay back on it after repairs.
Not thinking about comfort while repairing a recliner
A lot of time, when workers are working on a recliner, they don’t think about how comfortable it’ll be later down the line after the repairs are done. When they install the new parts, cushions, or whatever else, they ensure that it’s safe and everything is in working order. Still, they forget to replace something like a spring cushion that could cause discomfort for whoever sits back on it after it’s repaired.
Not labelling screws and parts correctly
When you first start out repairing anything, especially with a recliner, it’s essential to label all your parts and any associated screws before taking them apart. Otherwise, there is the risk of not knowing where each piece belongs when you go to put the furniture back together again later down the line.
FAQ’s
No, not all recliners come apart. Some models are designed to be taken apart and reassembled, while others are not intended to be disassembled in any way. Be sure to check the manufacturer’s instructions for your specific model to be sure whether or not it can be taken apart.
Yes, many recliner chairs can be taken apart. The exact process for taking them apart will vary depending on the model and brand of recliner you have. Generally, however, it involves disconnecting the seat from the frame and separating any components connected with bolts, screws, or other fasteners.
The process for removing the back of a lift recliner can vary depending on the model and manufacturer. Generally, it involves disconnecting the power cords and then unscrewing any screws holding the back in place.
To remove a recliner mechanism, you will typically need to unscrew any bolts or screws holding the frame together carefully. Once all of these connections have been loosened, you should be able to slide the mechanism out of the frame.
Final Verdict:
By now, you should be a pro at taking apart a recliner. You should have all the pieces disassembled and ready for cleaning or packing away in no time.
With the right tools and a bit of knowledge, you can quickly dismantle your recliner for cleaning, repair, or moving purposes. So if you’re ever in a pinch and need to take apart a recliner, hopefully this guide has given you the skills necessary to do so.



[…] with delicacy, as a single act or slight drift can wreck your recliner for good or cost you a huge repair […]
[…] sofa at your next location if you are planning to shift elsewhere. Or you can simply shift your recliner from the ground floor to the first floor without lifting it through the stairs and fear breaking it […]
[…] How To Repair A Recliner – Step-by-Step Instructions […]
[…] Read also: How To Repair A Recliner […]
[…] Read also: How To Repair A Recliner […]
[…] Read also: How To Repair A Recliner […]
[…] How To Repair A Recliner – Step-by-Step Instructions […]
[…] How To Repair A Recliner […]
[…] How To Repair A Recliner – Step-by-Step Instructions […]
[…] Read also: How To Repair A Recliner […]
[…] Identifying the exact problem is the first step toward effective repair. […]
[…] Read Also: How To Repair A Recliner […]